For professionals who wear glasses, video calls present a unique frustration. You set up your camera, join the meeting, and realize your eyes are completely hidden behind two bright, white reflections. Instead of making eye contact, your colleagues end up staring at a reflection of your lamp.
Many remote workers try to solve this with popular ring lights, only to find they make the problem worse by placing a bright circle directly in the center of the lens. To fix video call glasses reflection, you do not need expensive lenses; you simply need to understand position and geometry.

The Physics of Reflection (Angle of Incidence)
To remove the glare, you have to respect the law of reflection: the angle of incidence equals the angle of reflection.
In plain English, this means light bounces off glass like a tennis ball hitting a wall. If your light source is placed directly behind your webcam or monitor (low and center), the light hits your glasses and bounces straight back into the camera lens. That is the glare you see.
To stop this, we need to change the path of that bounce so the reflection goes past the camera, not into it.
The “Higher and Wider” Method
The most effective way to remove glare on Zoom is moving your light source out of the direct line of sight. We call this the “Higher and Wider” approach.
1. Lift the Skytex Stands
Lighting that sits at desk height is the primary cause of reflection. You need elevation. Extend your light stands so the source is significantly above your eye level. When the light comes from above, the reflection on your glasses bounces downward, towards the floor, rather than straight ahead into the webcam.
2. The 45-Degree Rule
Once the lights are elevated, move them horizontally. Position your light roughly 45 degrees to the side of your desk. By moving the source “wider,” the reflection bounces off your glasses and travels toward the side wall, completely missing the camera lens.

Why a Softbox is Better Than a Desk Lamp
Proper softbox placement does more than just move the light; it changes the quality of the light. A standard desk lamp or a naked bulb is a “point source”—a tiny, incredibly bright dot. If a reflection from a point source catches your lens, it creates a harsh, blinding starburst.
Conversely, a softbox (like a standard 50x70cm unit) diffuses the light over a large surface area. If you accidentally move your head and catch a reflection, it appears as a soft, oversized wash of light rather than a sharp glare. It is less distracting and much more forgiving for lighting for glasses.
Step-by-Step Setup for Your Home Office
Here is the ideal configuration using a dual-light setup:
- Desk Position: Sit facing your camera.
- Place the Stands: Position your Skytex stands to the left and right of your desk (not behind the monitor).
- Check the Height: Extend the stands to nearly 2 meters (or as high as your ceiling allows comfortably).
- Tilt Down: Angle the softbox heads downward at 45 degrees so they point at your face, not the wall behind you.
- Test: Look at your webcam. You should see your eyes clearly, while the reflections of the softboxes should have moved to the far edges of your frames or disappeared entirely.
Final Thoughts
Solving the glare problem isn’t about buying anti-reflective coatings; it is about geometry. However, you cannot achieve the “Higher and Wider” angle with a short desktop tripod.
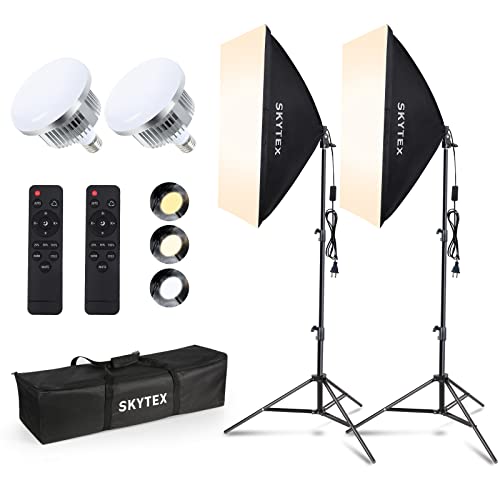
To get the light high enough to clear your lens reflection, you need equipment capable of height. We recommend the Skytex lighting kit, featuring robust stands that extend up to 2 meters, giving you the flexibility to position your light exactly where physics dictates it should be.